Learn the procedures, steps, risks, and requirements for splints and casts.

It takes plenty of time and practice to apply a splint or a cast. Both of these hard wraps are used to immobilize a part of a patient’s body that’s been injured. They support and protect any injured bones, ligaments, tendons, and other tissues.
This article will focus on the art of splint and cast techniques, one of the most common yet essential tasks for medical staff. Mastering these skills may open doors in a healthcare professional’s career and contribute to higher patient satisfaction rates.
(Click here to see our full list of the most common nursing duties and responsibilities).
Nurses assist their patients in several ways. Depending on their work environment and scope of practice, they may need to apply or remove splints and casts. If you’re studying to become a Registered Nurse (RN), it can be beneficial to learn the proper technique for applying splints or casts in a medical environment.
Definition of Splints and Casts
What is the Difference Between a Splint and a Cast?
Splints and casts are used to support the healing process for broken bones and fractures by holding your bones together while your body recovers. They are applied to keep your bones as straight as possible so that your physical motions don’t exacerbate the injury. Most importantly, they protect your body from any further damage while reducing pain and swelling to your injury.
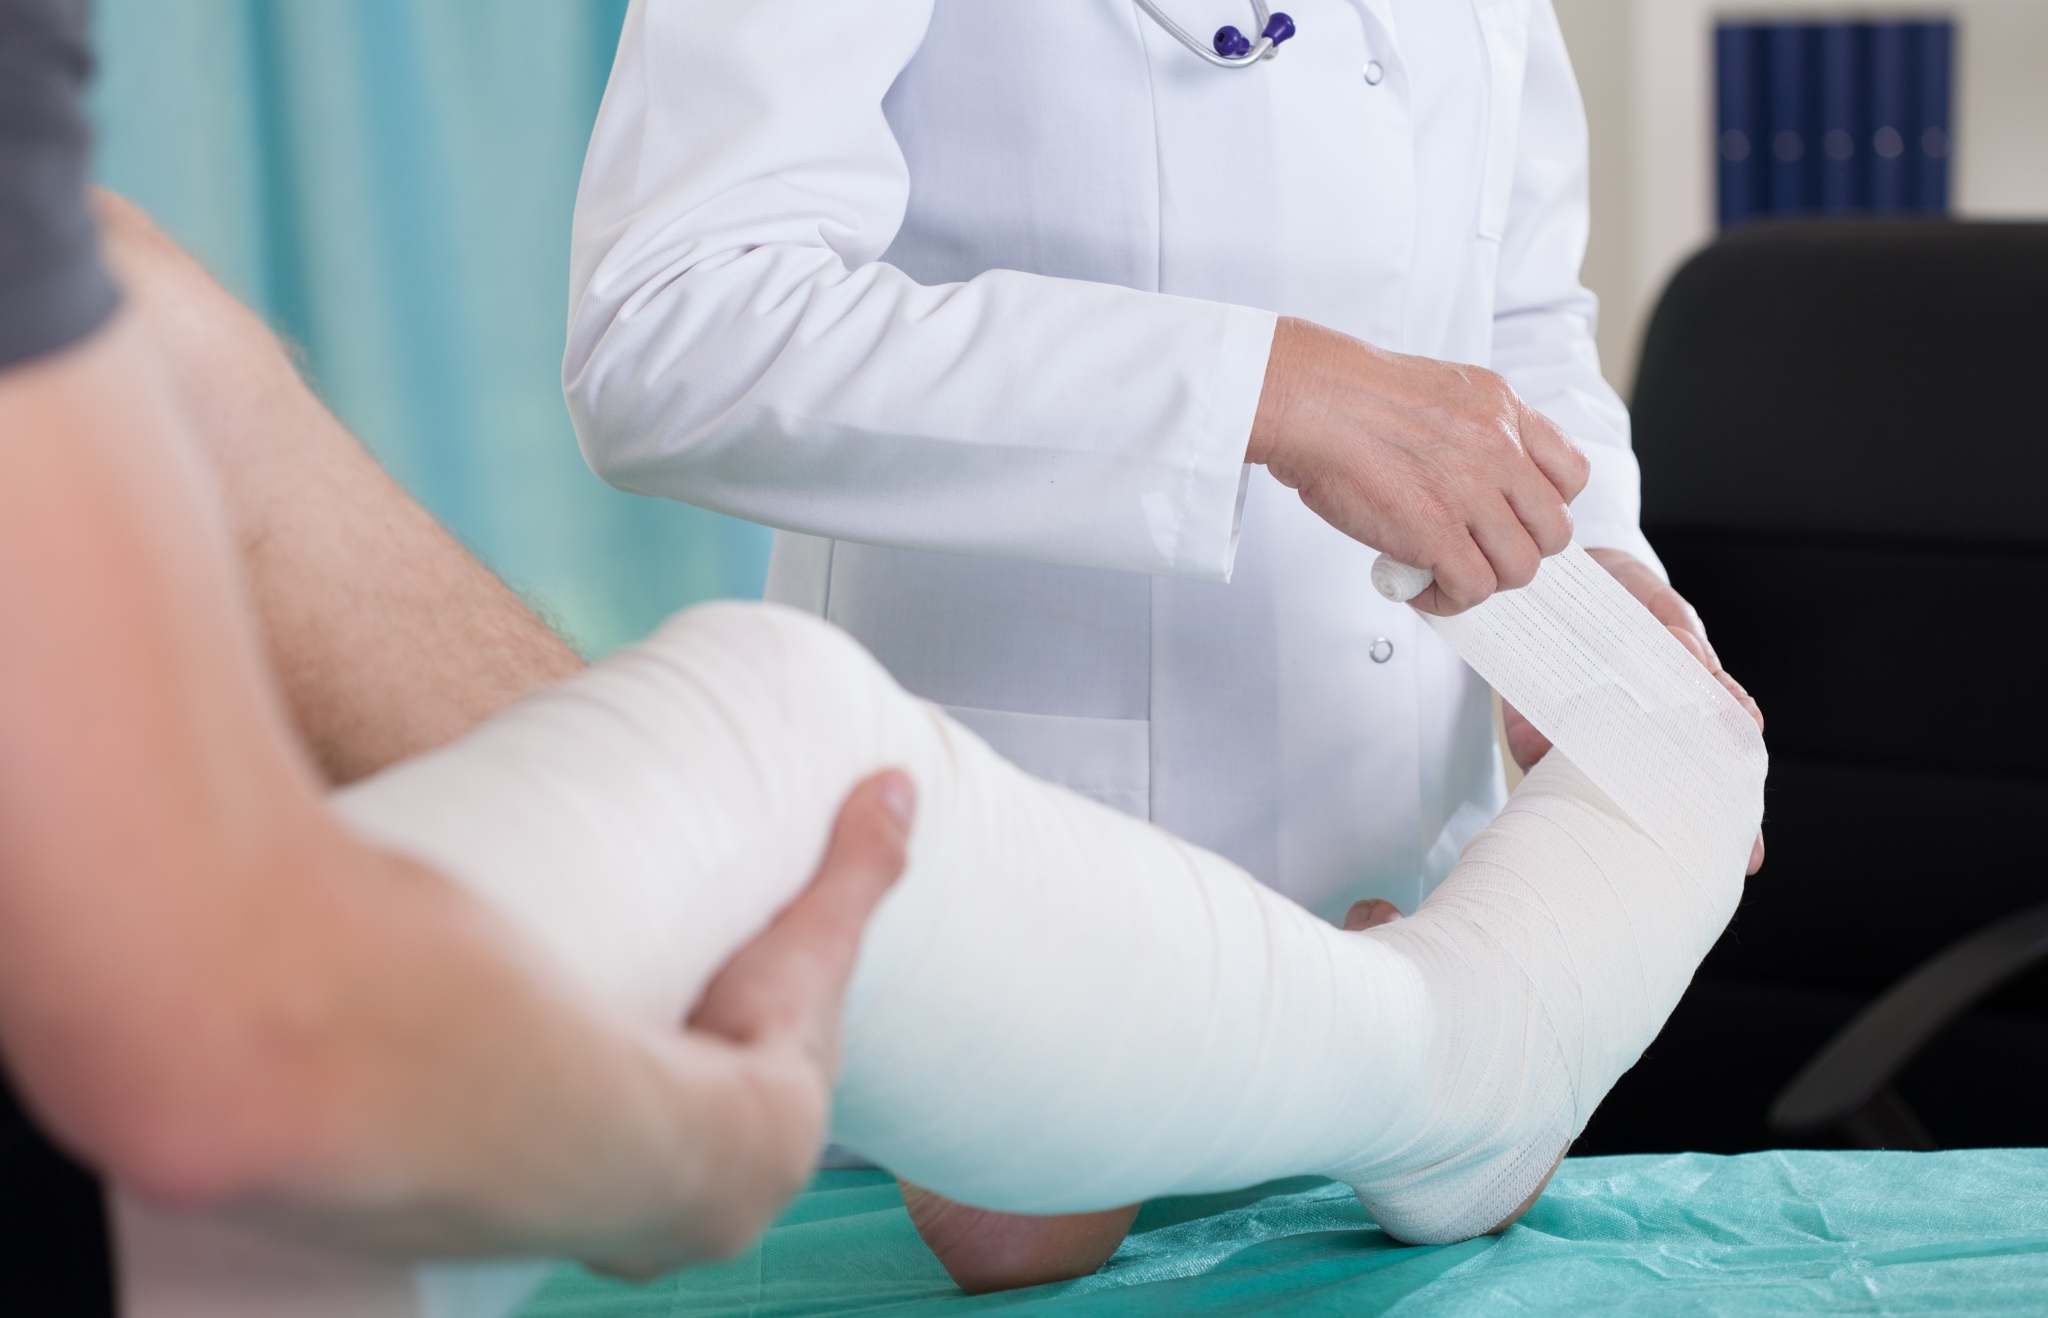
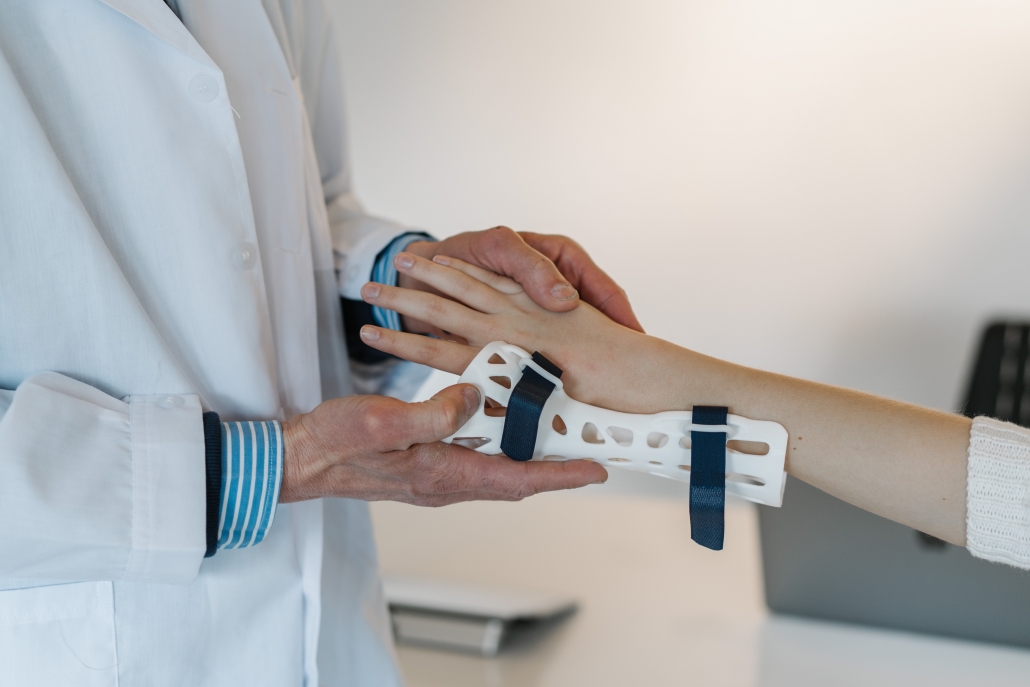
Casts are custom molds made of plaster or fiberglass, and they are designed to wrap all the way around an injury. They can only be safely removed in a doctor’s office. On the other hand, a splint is more like a “half cast.” Because the hard part of the splint doesn’t wrap all the way around the injury, it is held in place with an elastic band or similar material. Another key difference is that splints can be easily adjusted or removed.
Common reasons to use a splint on a patient:
- Simple or stable fractures
- Sprains
- Tendon injuries
- Other soft-tissue injuries
Common reasons to use a cast on a patient:
- Definitive fracture management
- Complex fracture management
How Long Does it Take to Splint or Cast a Patient?
On average, splints can usually be applied in 5-10 minutes.
Casts, however, depend on the type of material used. For instance, plaster can take about a day and a half to dry before it’s hard enough to support the patient’s weight. Casts made of fiberglass may only take about 20 to 30 minutes to apply.
Here are some of the approximate times for each of the materials used to make casts:
- Plaster casts– about 15 minutes to cool and 24 to 72 hours to dry.
- Fiberglass casts– dry in 10 to 15 minutes and can bear weight 30 minutes after application.
- Polyester-cotton knit casts– takes about 7 to 10 minutes to dry and can bear weight almost immediately.
Who Applies Splints or Casts?
Various healthcare professionals can apply a splint or cast including orthopedic surgeons, emergency room doctors, physician assistants , orthopedic technicians, nurse practitioners, etc.
Upon a physician’s request, nurses may also be asked to apply or remove splints or casts. Advanced Practice Registered Nurses (APRNS) can perform the closed reduction of a fracture. This means that they are permitted to set a broken bone. Once the bone is put in place, it can grow back together.
(Click here to learn how to become a nurse).
Training Requirements for Splints and Casts
Training requirements for splints and casts depend on the healthcare profession you choose. For example, to become a doctor you need to earn a bachelor’s degree, complete four years of medical school, and meet several other certification requirements. If you’d like to become a Nurse Practitioner or APRN, you must become an RN before obtaining work experience and certification in a specialty.
Necessary Equipment for Splints and Casts
To apply a splint, you’ll typically need:
- Rigid splint
- Bindings
- Padding
- Sandbags, rolled towels, or clothing
- Rolled gauze
- Cloth strips
- Sterile compress
- Ice bag
For casts, you may need:
- Tubular stockinette
- Casting material
- Plaster splint, if necessary
- Large container of water
- Sink fitted with a plaster trap
- Linen-saver pads
- Sheet wadding
- Sponge or felt padding (as much as necessary)
- Rubber gloves
- Other gloves
- Pain medication
- Cast stand
- Pillows
- Sterile marker
Splint and Casts Procedure
Detailed Guide to Apply Splints or Casts
By reviewing the following steps, you can begin to learn more about the process of applying splints or casts. Like any other skill, splinting and casting require both time and practice to master. While in school, try not to feel disheartened if you don’t get it right the first time, and don’t hesitate to ask for your instructor’s help.
Splint Steps
The following are some of the general guidelines that you should follow when applying a splint:
- Verify your patient’s identity with at least two identifiers (check the facility’s policy).
- Try to obtain a history of the injury.
- Provide emotional support to the patient. Explain each step of the procedure to them.
- Perform hand hygiene and take all precautions.
- Complete a head-to-toe assessment. Remember to look for deformities, swelling, or bleeding.
- Ask the patient if they can move their extremities.
- Inspect and palpate the injured area to check for a fracture or dislocation.
- Apply a bandage, gauze, or cloth.
- Gently place the splint to lie on the joint above the injury and the joint below it. Secure the splint but only fasten it tight enough to hold the body part still—do NOT cut off the person’s circulation.
- You can use ice or a cool compress to help alleviate pain.

Cast Steps
The following are some of the general guidelines you should follow when applying a plaster cast:
- Double-check the doctor’s order.
- Make sure the doctor has obtained informed consent that has also been documented in the patient’s medical records.
- Retrieve the necessary equipment and check the casting packages for any air leaks.
- Confirm your patient’s identity using at least two patient identifiers.
- Explain the procedure to the patient.
- Perform hand hygiene and put on gloves.
- If indicated, mark the procedure area.
- Mask parts of the patient’s bedding with a linen-saver pad.
- Remove any jewelry on the limb to be casted.
- Observe the skin on the affected limb. Look for unusual color, wounds, rashes, or irritation.
- Note the temperature, color, motion, sensation, and pain in the affected limb.
- Assess the patient’s vital signs.
- Evaluate the patient for any signs of pain or muscle spasms. Provide them with medication as ordered by the doctor.
- Perform a follow-up assessment and inform the doctor if the pain cannot be controlled.
- If the patient has an open wound, help the doctor administer a local anesthetic, close the wound, and apply bandages.
- Then, assist the doctor by correctly positioning your patient’s injured limb, as ordered. It will usually be immobilized in a neutral position.
- Support the limb while the doctor applies a stockinette and sheet wadding. Smooth any wrinkles as this wadding are applied.
- Follow the doctor’s orders and continue to assist them throughout the rest of the casting process.
Splint or Cast Recovery
Most splints are worn for about three weeks. Typically, casts are worn anywhere from four to six weeks.
Unfortunately, lack of patient compliance can result in more motion and injury to the splinted area. While casts provide patients with superior immobilization, they can be less forgiving during the acute inflammatory stage. They may also carry a higher risk of complications for the patient.
Some of these risks include compartment syndrome, thermal injuries, pressure sores, skin infection and dermatitis, and joint stiffness. For this reason, patient education and follow-up appointments are critical after a cast or splint application.
Pro Tips for Mastering the Art of Splints and Casts
Here are a few tips that may assist you in the future:
- Always use proper hand hygiene!
- Remember that your patient is a person. Explain everything you’re doing to them.
- Choose an appropriate-width bandage. Apply the casting material evenly so that you overlap each preceding turn by half the bandage’s width.
- Use a continuous motion and maintain constant contact with the body part.
- You can strengthen the cast by using additional casting material at joints and points of expected stress.
- Smooth the cast edges before trimming them with a cast knife or cutter.
- Support the cast on a firm yet soft surface as it hardens. Be sure to only touch a damp cast with the palms of your hands.
- Turn the patient every 2 hours, which will allow you to support their major joints.
- Frequently check the skin around the cast edges (keep the skin dry).
- Educate the patient on proper cast care. Document their response to the cast application as well as your counsel.
- Do not put a damp cast on a hard surface or anything with sharp edges.
- Don’t use a hairdryer to help the cast dry.
- As tempted as they may be, don’t let the patient use anything to scratch under the cast. It can increase infection risk, among other things.
Why Should Nurses Learn How to Apply Splints and Casts?
Supporting the healthcare team and providing cast or splint care is often part of a nurse’s routine. You may even be responsible for applying or removing the casts yourself. Performing this task successfully can help facilitate the healing process and contribute to your patient’s overall comfort.
While you pursue your nursing education, it’s vital that you reflect on your goals and which specialization is best for you.
Take the First Step Toward Your Future
Unitek College offers several nursing programs for aspiring nurses, including our BSN program and Vocational Nursing school.
Contact us today to learn more about our programs and tuition assistance options. Take the first step toward a rewarding future in healthcare!
Share this entry.
While this blog may occasionally contain information that relates to Unitek College's programs or courses, the majority of information provided within this blog is for general informational purposes only and is not intended to represent the specific details of any educational offerings or opinions of Unitek College. *Please note that wage data provided by the Bureau of Labor Statistics (BLS) or other third-party sources may not be an accurate reflection of all areas of the country, may not account for the employees' years of experience, and may not reflect the wages or outlook of entry-level employees, such as graduates of our program. (accessed on 07/15/2026)