Learn the procedures, steps, risks, and requirements for orthodontic appliances.
Orthodontic appliances help braces work faster and better. In dental care, they help fix alignment issues. These oral-health tools are often a necessary step on your patient’s journey to an ideal smile. Dental Assistants might take dental impressions to create molds for orthodontic appliances. They can also examine orthodontic appliances and deliver care instructions to the patient.
Creating orthodontic appliances is relatively simple and requires dental putty or digital handheld wands. Mastering this skill is essential for employment in most dental practices. Therefore, you must follow the proper steps to take quality impressions and ensure patient health.
This article focuses on the art and science of creating orthodontic appliances, one of the most important dental procedures for medical staff.
(See our list of Dental Assisting duties and responsibilities)
Orthodontic Appliance Definition
What Are Orthodontic Appliances?
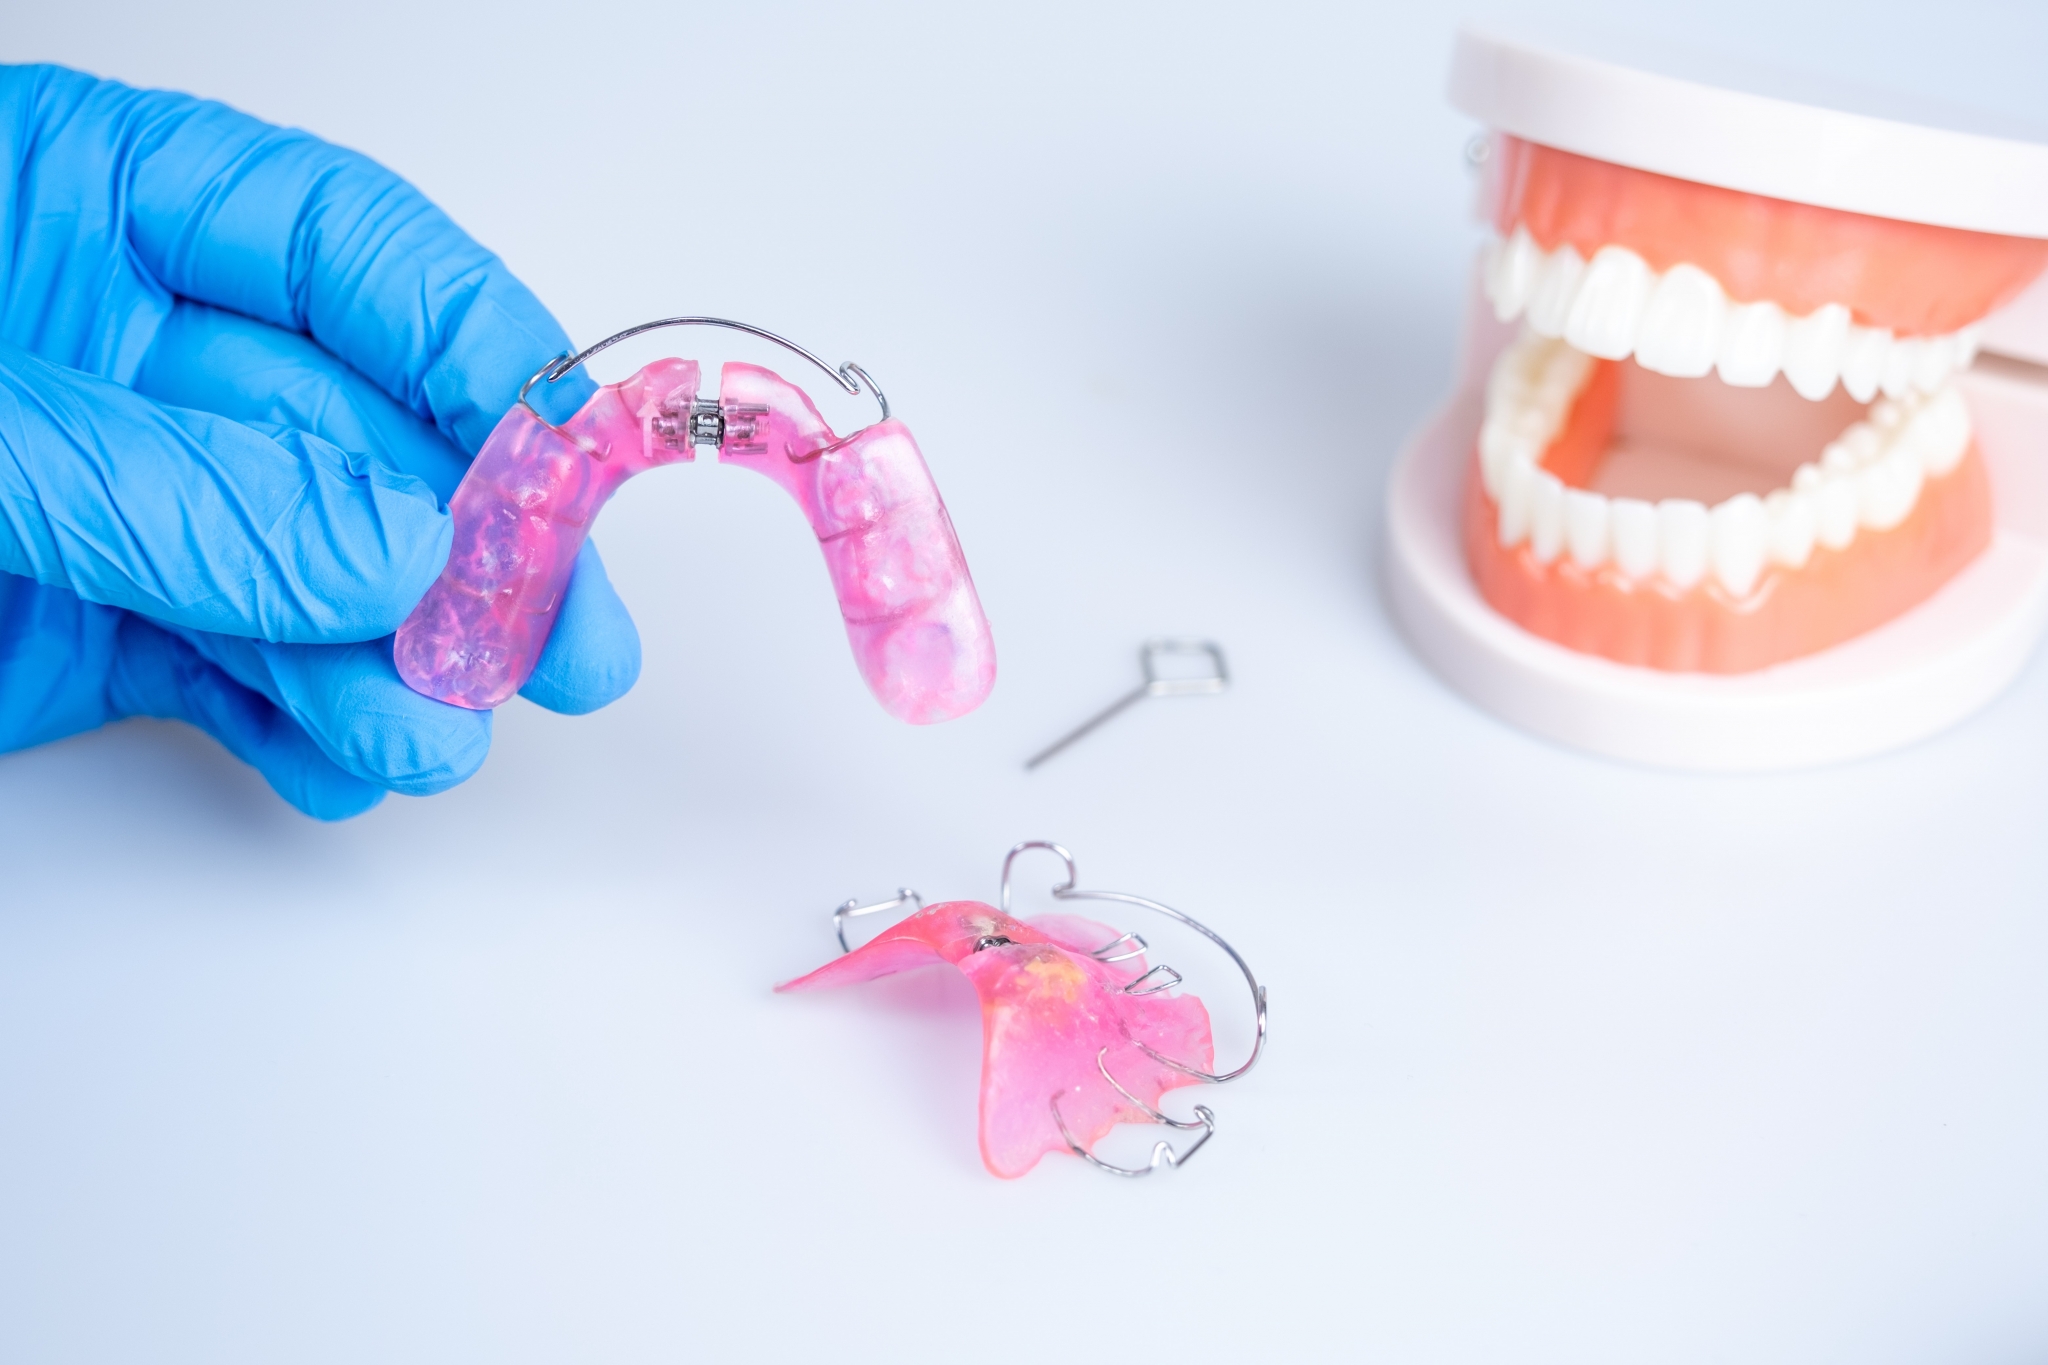
Orthodontic appliances are devices for the treatment of a dental condition. Different types of orthodontic appliances treat a wide range of issues. These issues may include crooked or crowded teeth, jaw irregularities, snoring, or sleep apnea.
If you’ve worn a retainer, you’ve already had experience with an orthodontic appliance. They usually fall into one of these primary categories: removable, fixed, or removable-fixed. However, one component that all orthodontic appliances have in common is that they are custom-made for your teeth and mouth. Dental professionals use X-rays and molds to ensure a perfect fit for each patient.
What is the Purpose of Orthodontic Appliances?
Orthodontic appliances serve the following purposes:
- Prepare the teeth for braces
- Straighten teeth
- Work in tandem with braces
Essentially, the goal of orthodontic appliances will usually fit into one of three categories: straighten teeth, improve jaw growth, and facilitate facial balance during development.
How Long Does it Take to Create or Examine Orthodontic Appliances?
Although it depends on the type of appliance, this procedure usually takes about 15 minutes or less to complete in the office. However, the mold of the patient’s teeth is then sent to a lab. It may return to the dental office in one to three weeks. When examining the appliances, it will likely take only a few minutes for your Dental Assistant to assess them.
Who Can Take Orthodontic Appliances?
It depends on the type of orthodontic appliance. For instance, some dental teams will create molds of a patient’s mouth for devices like retainers. Dental Assistants may take molds for several orthodontic appliances, such as retainers or nightguards.
In addition, Dental Assistants will often examine orthodontic appliances in a dentist’s office. Once the dentist has made any necessary adjustments, their Dental Assistant may seat removable orthodontic appliances. They can also deliver care instructions to the patient. In this profession, you will typically see orthodontic appliances when patients need help to straighten their teeth.
(Go here to learn how to become a Dental Assistant)

Training Requirements for Orthodontic Appliances
The requirements for molding orthodontic appliances may vary depending on location and profession. For instance, Dental Assistants usually need to graduate from an accredited program and pass an exam. However, some may learn through on-the-job training.
Dental Assistant programs typically take about one year or less to complete. They include both clinical and classroom instruction. The Commission on Dental Accreditation (CODA) accredits over 250 Dental Assisting programs in the United States. These programs provide knowledge and practical experience.
Orthodontic Appliance Procedure
Like any skill, creating an orthodontic appliance requires time and practice to get it right. So, the first step is to understand proper orthodontic appliance procedures.
Orthodontic Appliance Prep
It’s beneficial to have your supplies ready, study up on state law, and check your employer’s policy and procedures.
Steps for Creating Orthodontic Appliances
Here are the general guidelines you should follow to create a retainer:
- Distribute dental putty into a plastic or metal tray.
- Place the tray over the patient’s teeth and hold it there.
- Wait a few minutes for the putty to set and harden.
- Carefully remove the tray (and putty) from the patient’s mouth.
- Send the impression to a dental laboratory.
- Once the lab sends the final product to the dental office, inspect the orthodontic appliance, and schedule a follow-up appointment with the patient.
Recovery
After taking the patient’s dental impressions, they are sent to a laboratory and developed by trained technicians. This procedure can take anywhere from one to several weeks. In some cases, the dentist may put a temporary restoration in place if the patient is missing their front teeth.
Necessary Equipment for Orthodontic Appliances
Typically, the supplies to create orthodontic appliances include the following items:
- Alginate Mixers
- Impression Trays
- Digital Impression Systems
- Automatic Mixers
- Hand Dispense Guns
- Mixing Tips
Potential Risks or Complications of Orthodontic Appliances
There aren’t any considerable risks when it comes to taking dental impressions. However, some complications might arise. For example, if a patient has loose teeth, the putty might pull them out. This is rare, though, and the dentist would find a solution. In addition, the process can trigger your patient’s gag reflex.

Pro Tips for Mastering the Art of Orthodontic Appliances
Tips for taking impressions and examining orthodontic appliances include practicing as much as possible, knowing when to distract patients, and ensuring the appliance fits. Here are other pro tips that may assist you in the future:
- Check the margins –To take a precise impression, you must ensure saliva and blood aren’t tainting the margins. Remember to consult with the dentist if you’re having any issues.
- Experiment with the tray size first –Since trays come in various sizes, ask your patient to put different ones in their mouth. You’re more likely to take an accurate impression if you know the tray size in advance. As a bonus, this exercise will give your patient a better feel for the procedure.
- Less is more for dental putty –Extra material can trigger the gag reflex. If you have a patient susceptible to gagging, use less putty in the dental tray. Other tips to help prevent gagging: Ask the patient to sit straight, focus on breathing through their nose, or lift one leg during the impression. Why? Distraction is key.
- Distract anxious patients –Speaking of distraction, another way to lessen a patient’s discomfort is the art of chit-chat. Talk to them throughout the procedure. Give them updates about the time remaining before the impression sets. Also, some dental practices play TV or music in exam rooms.
- Inspect the appliance – When the laboratory returns the final product to the dental office, perform a basic check to confirm the following:
- This is the correct appliance for your patient
- The device correctly fits the model
- There are no apparent deformities
- There are no sharp edges, which could cause discomfort or damage
- Trim the appliance in some situations – Sometimes, the appliance will not “sit down” or attach fully to the teeth. This usually means some appliance trimming is required in the premolar or molar region. Consult with the dentist before taking any further action. Alternatively, if the appliance is too loose, you should also consult with the dentist.
- Take a new impression if needed– If a new appliance doesn’t fit and you can’t adjust it, you will likely need to take a new impression of the patient’s teeth. The following may be the root cause of this improper fit:
- One or several teeth moved since you took the impression
- The impression was dragged or distorted at some point during the process
Why Should Dental Assistants Learn How to Handle Orthodontic Appliances?
Orthodontic appliances help straighten teeth, enhance jaw growth, and create facial balance during development. Although taking molds for orthodontic appliances might sound simple, it’s an important procedure vital to oral health.
While handling orthodontic appliances isn’t always a job requirement, it is a task that Dental Assistants commonly perform. It’s also a valuable skill that could lead to more opportunities. Therefore, it would be advantageous for DAs or aspiring Dental Assistants to pursue training in this area. Once experienced, a DA would likely become more helpful to their employer and earn better career prospects.

Start Your Career in Dental Assisting
Orthodontic appliances can help maintain your oral health and instill confidence by aligning your teeth. Taking impressions for orthodontic appliances is a crucial skill aspiring Dental Assistants should consider learning for their careers.
If you’re inspired and want to pursue a career in medicine, Unitek College offers various healthcare programs, such as our Dental Assisting program.
Contact us today to learn more about our programs and tuition assistance options. Take the first step toward a rewarding future in healthcare!
Share this entry.
While this blog may occasionally contain information that relates to Unitek College's programs or courses, the majority of information provided within this blog is for general informational purposes only and is not intended to represent the specific details of any educational offerings or opinions of Unitek College. *Please note that wage data provided by the Bureau of Labor Statistics (BLS) or other third-party sources may not be an accurate reflection of all areas of the country, may not account for the employees' years of experience, and may not reflect the wages or outlook of entry-level employees, such as graduates of our program. (accessed on 07/22/2026)